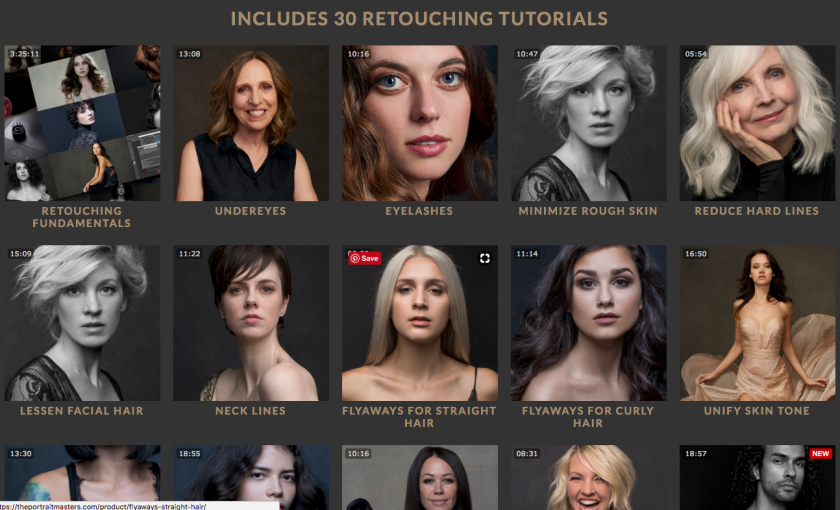
In my ongoing mission to improve my photo skills, I recently purchased a series of retouching tutorials by Pratik Naik a.k.a. Solstice Retouch. It is a series of videos teaching how to do professional level retouching to make photos look flawless but avoiding making them look fake. As he says, the best retouching is when it looks like it hasn’t been retouched. Topics include skin retouching, minimising neck lines and flyaway hairs, contouring and many others.
I have been putting this into practice with my latest shoot which I will post pictures of when I have finished the lot but here is a sneak preview.
Original photo:
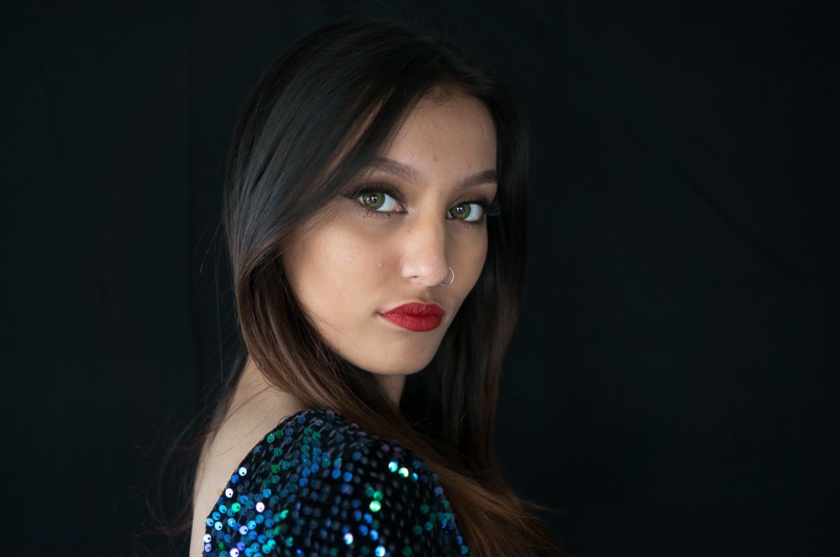
Retouched photo:

The things I retouched here are the skin by removing spots and smoothing the skin while keeping its texture, removing stray hairs, filling in a gap in the hair by her right eye, reducing shadows in unwanted areas like under her eyes, and reducing bright hot spots like above her right eyebrow and on the tip of her nose. Going back to what I said earlier, I think you would agree that if you only looked at the retouched photo, you wouldn’t think I had done anything to it.
I am pleased with the result although it does now take me a lot longer to retouch one photo. I have been spending 1-2 hours retouching each photo from this shoot. Of course that is because this is I am learning the ropes with these new techniques so I hope to get faster as I get more experienced.
Do you like what I have done here? Let me know in the comments section.
